
Quickstart
Create a Ridu project with SQLite or PostgreSQL, save your first document, and read it with the generated TypeScript SDK.
This guide takes you from an empty directory to a running CMS and a typed SDK read. The Starter
template includes an authenticated users collection and a small posts collection.
You need Go 1.25 or newer, Node.js 20 or newer, and one package manager:
npm, Bun, pnpm, or Yarn. You do not need a global ridu command.
1. Choose a database and create the project
Both paths produce the same Ridu application. Choose SQLite when you want the fewest moving parts on one machine. Choose PostgreSQL when the database will be a separate service or the application may run on more than one host.
Choose SQLite in the wizard for the shortest path to a local Ridu project. It needs no database service or Docker setup. Development data lives in .ridu/development.sqlite and is created when dev starts.
SQLite is intended for a local file on one host. Before deploying, set an absolute RIDU_SQLITE_PATH and review the SQLite production guidance.
Choose PostgreSQL in the wizard for a networked database that can run independently of the application and support multiple app hosts. The generated project includes a development service on port 54329; dev starts it with Docker or OrbStack.
If you already operate PostgreSQL, set DATABASE_URL and run dev --no-docker. Production connections must use verified TLS; the PostgreSQL guide shows the complete existing-service setup.
Start the initializer with your package manager. The positional my-app names the project
directory; the wizard asks you to choose the Starter template, the database above, and optional
coding-agent guidance. The remaining commands install the workspace and start development.
npm create ridu@latest my-app
cd my-app
npm install
npm run devbun create ridu@latest my-app
cd my-app
bun install
bun run devpnpm create ridu@latest my-app
cd my-app
pnpm install
pnpm run devyarn create ridu my-app
cd my-app
yarn install
yarn run devNon-interactive scaffolding and custom package identities
Use flags for non-interactive setup or to set the Go module and npm scope. This example selects
SQLite; change --database sqlite to --database postgres for the PostgreSQL path.
npm create ridu@latest -- \
  --template starter \
  --database sqlite \
  --module github.com/acme/content \
  --scope @acme \
  --no-agent \
contentbun create ridu@latest \
--template starter \
--database sqlite \
--module github.com/acme/content \
--scope @acme \
--no-agent \
contentpnpm create ridu@latest \
--template starter \
--database sqlite \
--module github.com/acme/content \
--scope @acme \
--no-agent \
contentyarn create ridu \
--template starter \
--database sqlite \
--module github.com/acme/content \
--scope @acme \
--no-agent \
contentThe target directory must not already exist. Replace --no-agent with
--agent codex|claude|cursor|all when automation should install agent guidance. See
Installation for every scaffold option and recovery behavior.
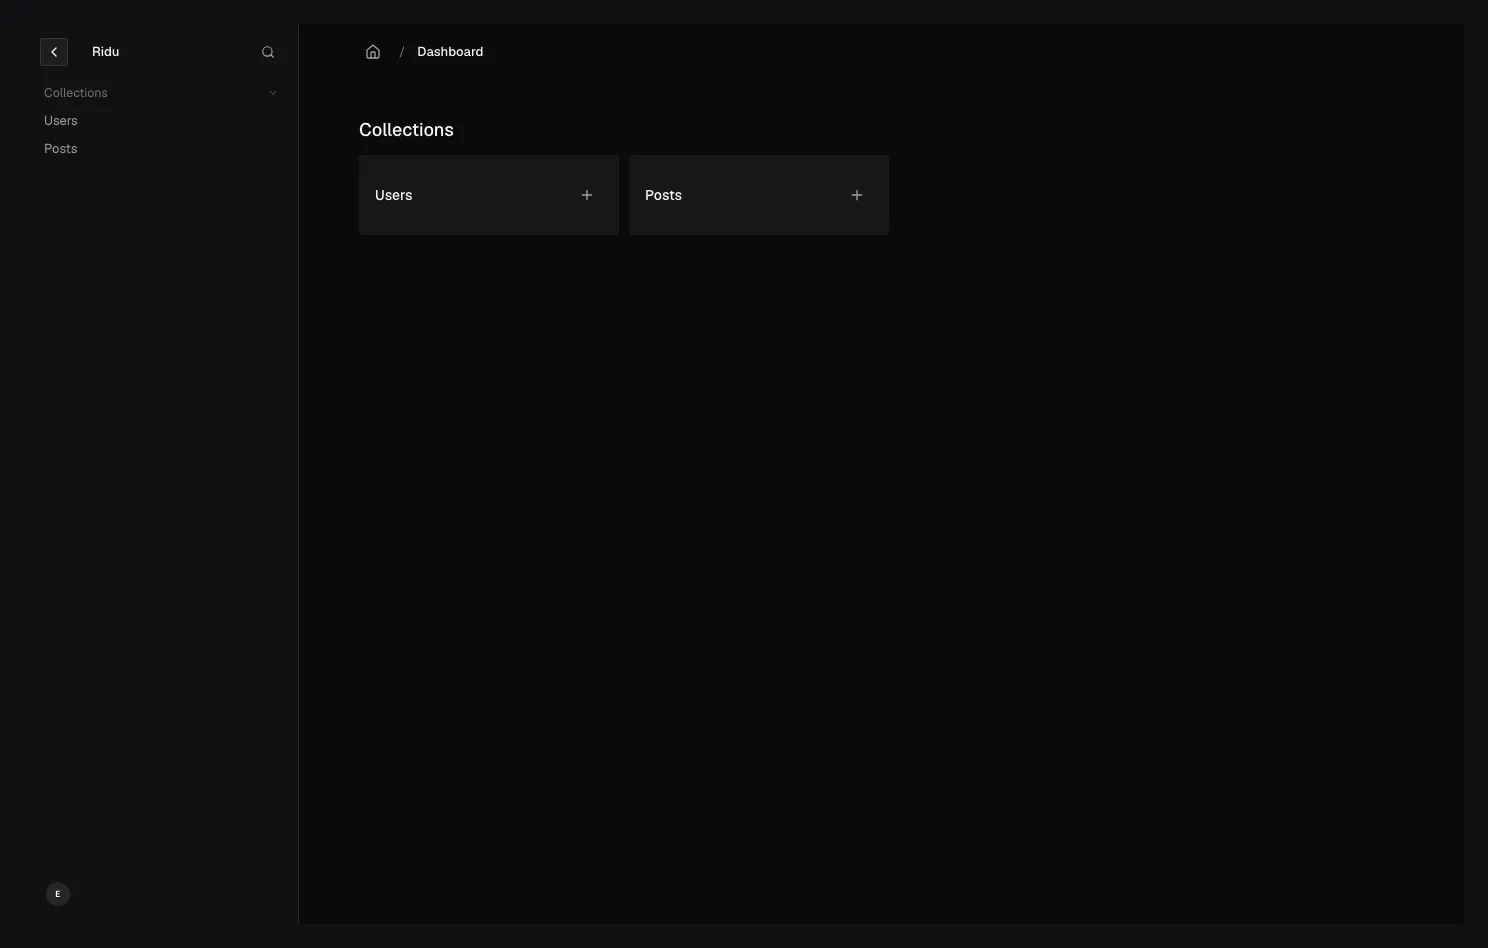
2. Open the admin
Keep the selected tab’s dev command running. Wait for it to print healthy API and admin URLs, then
open http://localhost:8080/admin. On an empty database Ridu shows the setup screen instead of a
login form. Create the first user with an email address and a password.
The setup operation is available only while the configured auth collection is empty. After it succeeds, the same URL shows the login screen.
3. Create your first post
Choose Posts in the sidebar, select Create new, and enter:
| Field | Value |
|---|---|
| Title | Hello from Ridu |
| Status | published |
| Author | Your new user |
Save the document. The list view should now contain Hello from Ridu.
4. Read it through the generated SDK
Open generated/ridu.generated.ts, then create scripts/read-posts.ts:
import { createClient } from '../generated/ridu.generated';

const baseURL = process.env.RIDU_URL ?? 'http://localhost:8080';
const email = process.env.RIDU_EMAIL;
const password = process.env.RIDU_PASSWORD;

if (!email || !password) {
  throw new Error('Set RIDU_EMAIL and RIDU_PASSWORD to the user created in the admin.');
}

let sessionCookie = '';
const ridu = createClient({
  baseURL,
  middleware: [
    async (request, next) => {
      const headers = new Headers(request.headers);
      if (sessionCookie) headers.set('Cookie', sessionCookie);

      const response = await next(new Request(request, { headers }));
      const setCookie = response.headers.get('set-cookie');
      const match = setCookie?.match(/(?:^|,\s*)(ridu_session=[^;,\s]+)/);
      const session = match?.[1];
      if (session) sessionCookie = session;
      return response;
    }
  ]
});

await ridu.login('users', { email, password });
const page = await ridu.list('posts', {
  where: { status: { equals: 'published' } },
  select: { title: true, status: true },
  sort: ['-createdAt']
});

console.log(page.docs);
Leave the selected tab’s dev command running and execute the script in a second terminal:
RIDU_EMAIL='[email protected]' \
RIDU_PASSWORD='your-password' \
npm exec tsx -- scripts/read-posts.tsRIDU_EMAIL='[email protected]' \
RIDU_PASSWORD='your-password' \
bun scripts/read-posts.tsRIDU_EMAIL='[email protected]' \
RIDU_PASSWORD='your-password' \
pnpm exec tsx scripts/read-posts.tsRIDU_EMAIL='[email protected]' \
RIDU_PASSWORD='your-password' \
yarn tsx scripts/read-posts.tsThe output includes the post you just created. The collection slug, filter operators, selected
fields, and returned document shape are inferred from the generated contract; mistyping posts,
status, or published is a TypeScript error.
The middleware keeps the opaque ridu_session cookie in memory for this process and forwards it
after login. Do not log or persist it. The typed login result does not expose the raw session token.
Browser applications need no cookie middleware; call login once and the SDK’s default
credentials: "include" sends the HttpOnly cookie. Long-running service clients should use an
expiring API key rather than a user’s password or browser session.
5. Change the model
Add a summary to content/posts.go:
var Posts = ridu.Collection{
  Slug: "posts",
  Access: ridu.CollectionAccess{
    Create: authenticatedOnly,
    Read:   authenticatedOnly,
    Update: authenticatedOnly,
    Delete: authenticatedOnly,
  },
  Fields: []field.Definition{
    field.Text("title", field.Required()),
    field.Textarea(
      "summary",
      field.MaxLength(240),
      field.Description("A short introduction used by post cards."),
    ),
    field.Select(
      "status",
      field.OneOf("draft", "published"),
      field.Default("draft"),
    ),
    field.Relationship("author", field.To("users")),
    richtext.Field("content"),
  },
}
Save the file while dev is running. Ridu regenerates the contracts, applies the additive
development change, restarts the server, and refreshes the admin. Reopen the post; the Summary
control should now be available.
Run this before committing:
npm run ridu -- doctor
npm run ridu -- generate --check
npm run ridu -- checkbun run ridu -- doctor
bun run ridu -- generate --check
bun run ridu -- checkpnpm run ridu doctor
pnpm run ridu generate --check
pnpm run ridu checkyarn run ridu doctor
yarn run ridu generate --check
yarn run ridu checkCommit generated/ with your Go config. .ridu/ remains disposable local state.
Create and commit migrations for production schema changes; development sync is not a deployment plan.
If something does not start
Run the doctor command from the package-manager tabs above first. If the project-local launcher is
not installed yet, repeat the matching install command from step 1 and retry. If scaffolding
stopped during Go setup, follow the exact recovery commands printed by the CLI. For an occupied
database port, either stop the conflicting local service or follow the existing-service command in
the PostgreSQL guide.
Next, learn how a Ridu project is organised, choose the right field, or read the TypeScript SDK guide. See Installation for other templates, existing services, and recovery.